3D printed brain
Miscellaneous ·Here’s a brief summary of how I built the 3D printed brain lamp that is frequently featured as my website’s banner. I want to acknowledge my friends Sebastian Urchs, for advising me on how to build and get my prints started, and Yassine Benhajali, for teaching me and helping me build the circuit.
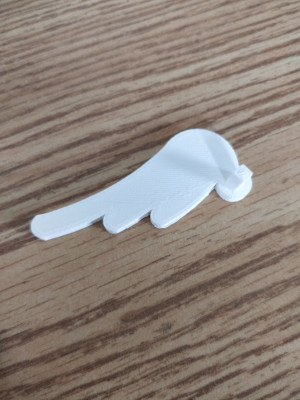
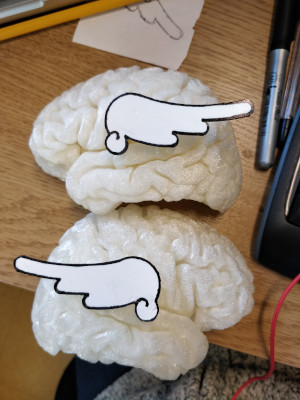
Step 1: I used Blender to build my model. I had 4 pieces: two brain hemispheres and two wings. The brain hemispheres each had a small square hole. The two wings were built so that they had two small square pegs that would fit (or click) into the holes of the brain hemispheres.
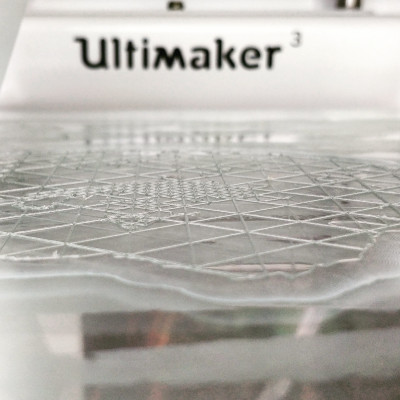
Step 2: I used Cura to prepare my model(s) for printing with the Ultimaker 3. During this step, I made decisions about the quality (or resolution) of the print, exact size, position and orientation of the model, if support material was required, and which print heads and materials would be used.
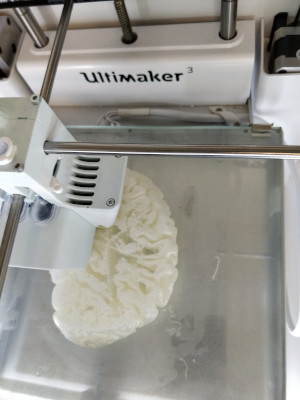
Step 3: I set up the printer with the desired spools of material and then we began to print, print, and print some more! Each piece was printed separately. So repeat steps 2 and 3 for as many individual pieces you’re going to print.

Step 4: With some LED lights, a repurposed power adapter, and soldering tools, we built a circuit for the lights that would go inside the brain (between the hemispheres).
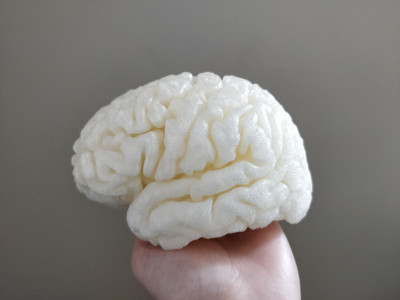
Step 5: We glued the lights and the hemispheres together with a glue gun, and we were done!
Some tips
- You should stick around to watch the 3D printer for 10 minutes after you start a print. It’s during this time that something is most likely to go wrong (e.g. material is not correctly getting through the print head, material is not sticking to plate).
- Sometimes the very first layer of the material will have a hard time sticking to the plate, so I would roll a glue stick over the plate to help with the adhesion.
- Consider the orientation of your print if you want to minimize the amount of support material you need for your print.
- If you have a piece A that is designed to fit inside a hole of a second piece B, make sure A will be printed slightly smaller than the hole of piece B to ensure that A will actually fit into B.
- When dissolving the support material, you might have to weigh down your model because it might float in the water and only be partially submerged.
Resources
Thingiverse: A place where you can check out 3D models that other people have built. It’s great for inspiration!